OCR(Optical Character Recognition):光学字符识别,是指对文本资料进行扫描,然后对图像文件进行分析处理,获取文字和版面信息的过程。
Tesseract:Google开源的OCR识别引擎。现已托管在GitHub上,大家有兴趣可以上Github上Star或Frok该项目。
Tesseract在Mac OSX上安装: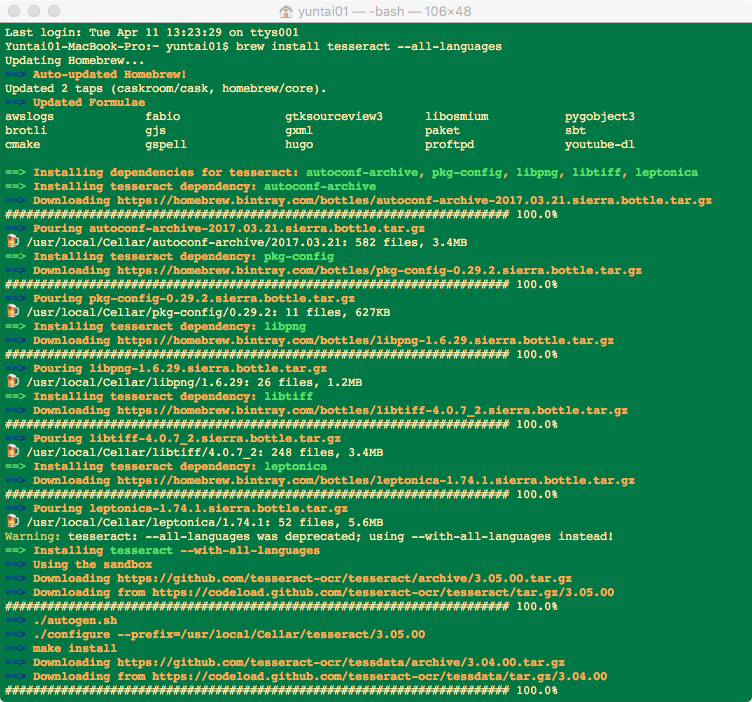
以上图片显示的是使用brew安装所有语言包,如果想要安装指定的语言包则命令如下:
通过brew安装所在的路径如下: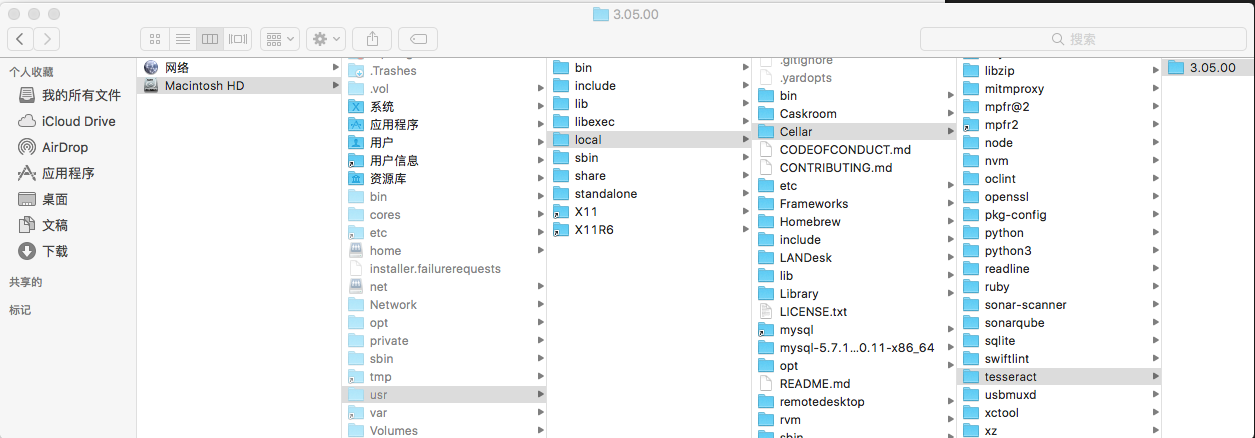
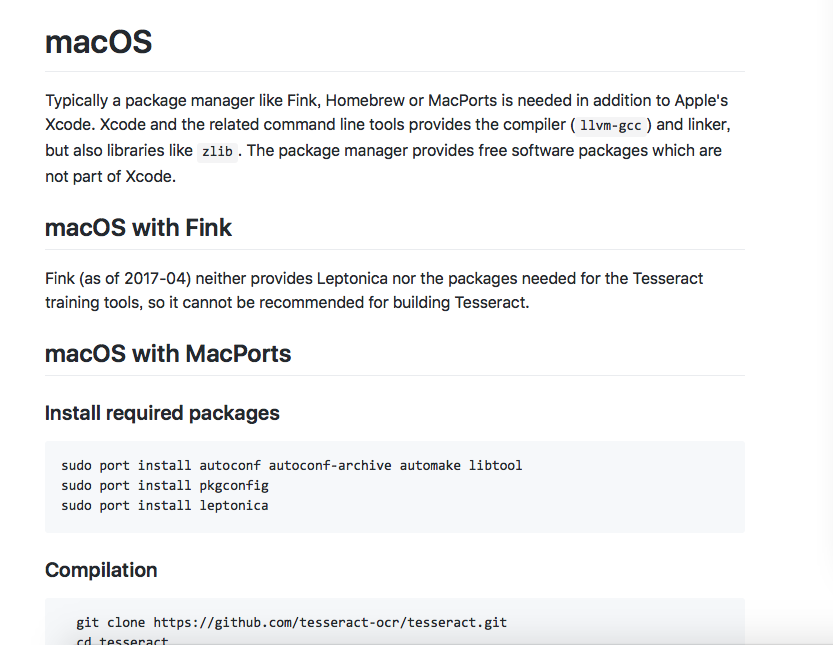
官方文档给出了两种方式安装:
方式1、通过Tesseract已经提供的编译好的二进制安装包。
方式2、通过Tesseract提供的源码自行编译安装。
你可以使用二进制安装包方式安装也可以使用编译源码方式安装。
在Mac OSX系统上,方式1安装又可通过以下两种工具进行安装:
1、MacPorts安装
2、Homebrew安装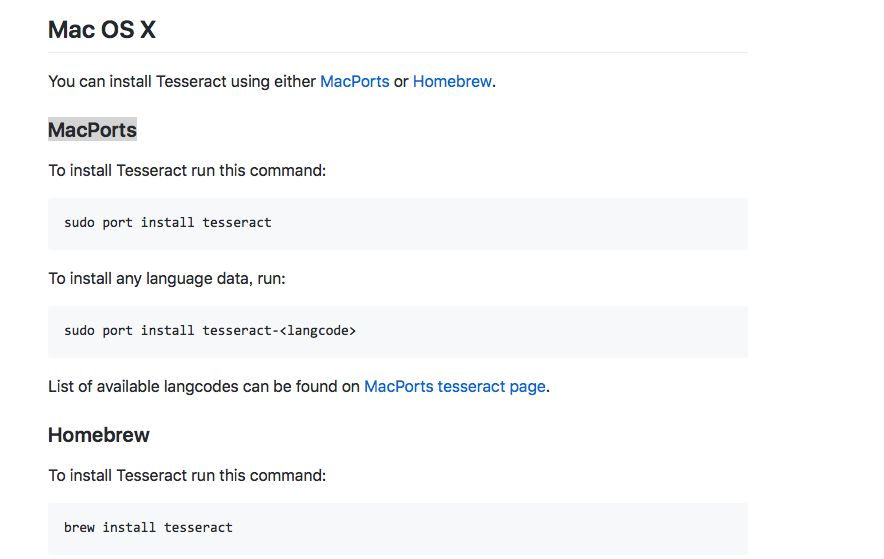
命令行使用:
1、查看安装的版本号$ tesseract --version
2、查看安装的语言包$ tesseract --list-langs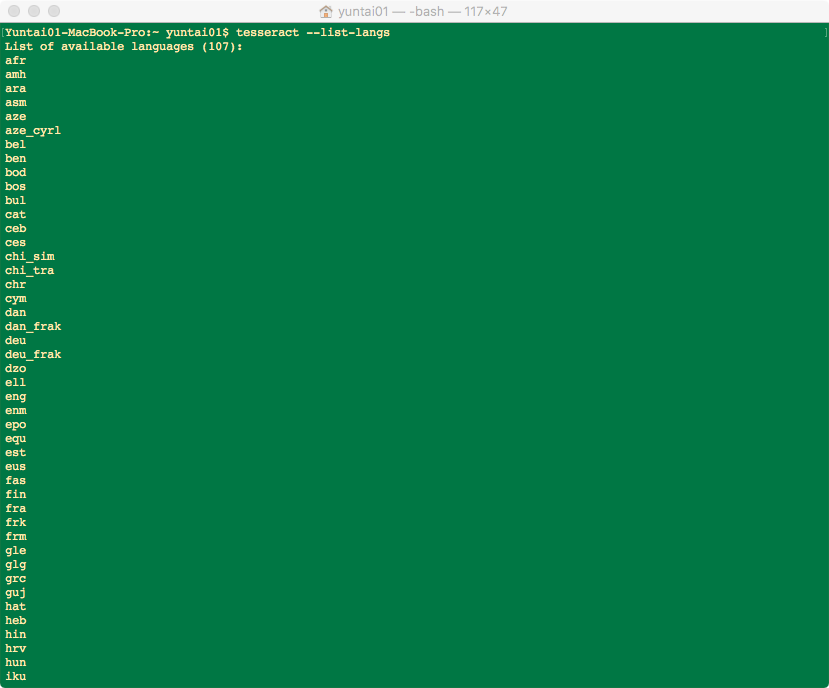
3、图片识别命令
第一个参数是待识别的图像的文件名。
第二个参数用于指定输出,如果希望直接输出而不是保存到文件,那么就使用 stdout,否则这个参数将会作为保存结果的文件的前缀。
-l chi_sim 用来指定使用哪个 “语言文件”,如果是使用 英文(eng) ,这个参数可以不加,因为默认就是使用英文的 “语言文件” 来进行识别。
以上命令就将/Users/yuntai01/Desktop/TesseractResult/xxx.png图片使用中文语言包进行识别,并将的结果输出到/Users/yuntai01/Desktop/TesseractResult/result.txt中。
如果直接输出则只需将输出参数设置为stdout即可:
例如识别下图:

指定多语言,用+号相连:
4、更多用法请移步到查看使用帮助命令$ tesseract --help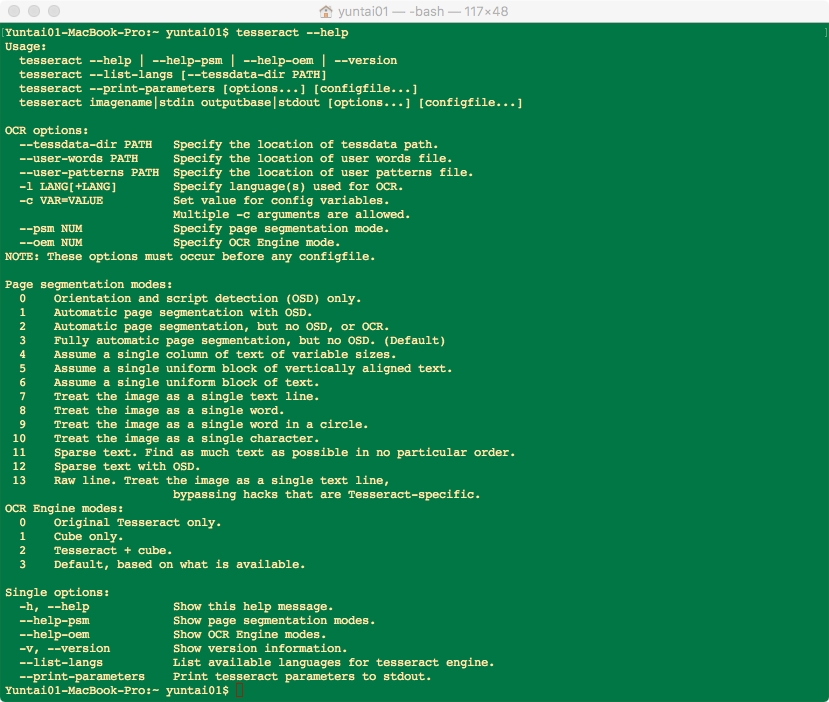
5、额外参数
通过上图help命令注意到命令tesseract imagename|stdin outputbase|stdout [options...] [configfile...]中[options...]除了参数-l LANG还有其他几个参数可以设置。
--psm NUM参数:
--oem NUM参数:
-c VAR=VALUE参数:
具体参数可以通过tesseract --print-parameters查看。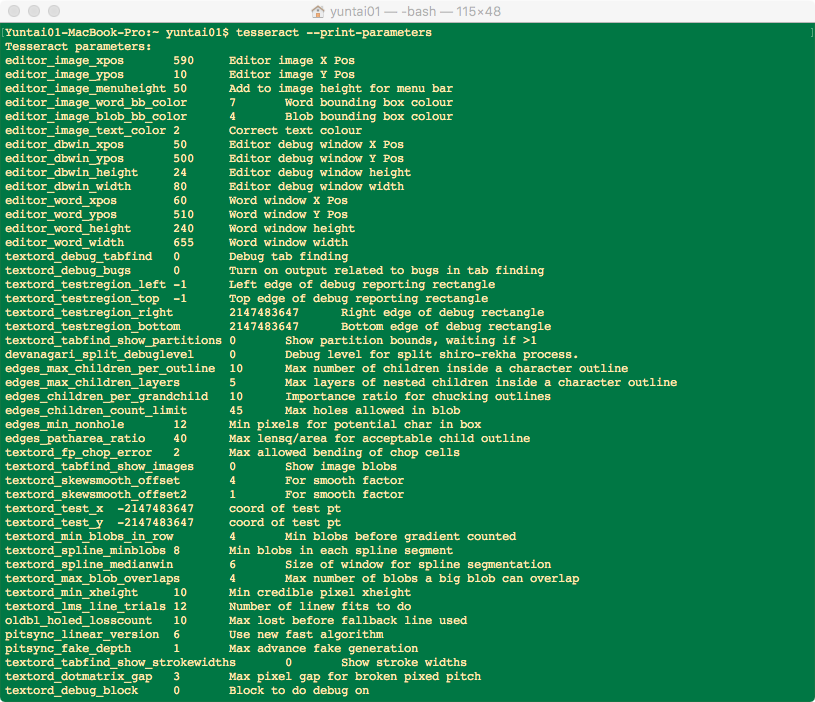
参数的使用有两种方式:
方式1:-c VAR=VALUE
使用 -c 选项来设定单项参数的值,比如:tesseract xxx.png xxx -l chi_sim -c language_model_ngram_on=1
允许使用多个 -c 选项来设置多个参数的值。
方式2:[configfile...]
将多项参数设置写入文件,然后在识别时使用该文件,比如:
tesseract xxx.png xxx -l chi_sim tess.conf
需要注意的是,如果使用配置文件,用作参数的配置文件名要放在最后面——这里也支持多个配置文件,但它们必须要在最后面。假如我有两个配置文件 tess_1.conf 和 tess_2.conf,那么这样是正确的:tesseract xxx.png xxx -l chi_sim tess_1.conf tess_2.conf
而这样则是错误的:tesseract xxx.png xxx tess_1.conf -l chi_sim tess_2.conf
这里提供了部分参数的用处说明。
官方文档也提供了,不过需要花点时间去找。
参考:
https://github.com/tesseract-ocr/tesseract